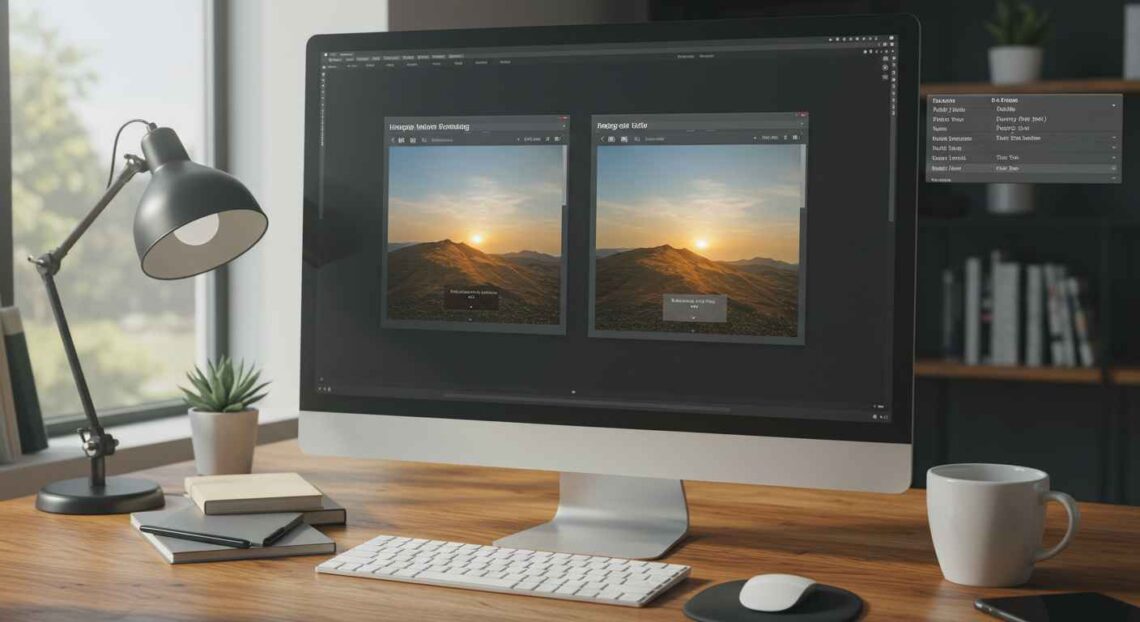
Resizing an image is something we all need to do — whether it’s for uploading to a website, posting on social media, or creating a design. But often, when we resize an image, it becomes blurry, pixelated, or stretched. The challenge is to resize the image without losing quality.
The good news is that now, with modern tools and AI-based editors, you can easily resize your images online while keeping them sharp and clear. This article will guide you through why image resizing causes quality loss, how to prevent it, and which tools work best for resizing without distortion.
Why Does Image Quality Drop When Resizing?
Before we fix the issue, it’s important to understand why resizing often affects quality.
- When you enlarge an image:
The pixels have to stretch. Since the original image doesn’t have enough data for the bigger size, the software fills in the gaps — this causes blur or pixelation. - When you shrink an image too much:
Important details get compressed or removed, leading to loss of clarity. - Low-resolution images:
If your original image is small (for example 400×400 pixels), increasing it to 2000×2000 pixels will never look sharp unless AI enhancement is used.
In short, resizing works best when done proportionally and with the right tools.
What Does “Without Losing Quality” Mean?
When we say “resize without losing quality,” it means:
- The image remains sharp and detailed
- The colors and edges look clean and natural
- The file size might change, but visual clarity stays high
AI-powered tools now use algorithms that add missing pixels smartly (a process called upscaling), helping you enlarge or shrink images smoothly.
Best Free Tools to Resize Images Without Losing Quality
Here are some of the most reliable online tools to resize your images while maintaining quality:
1. Pixlr
Pixlr is a powerful online image editor that lets you resize easily without distorting the photo.
- Website: https://pixlr.com
- Steps:
- Open Pixlr Editor.
- Upload your image.
- Go to Image → Image Size.
- Enter your new dimensions and check “Keep Aspect Ratio”.
- Save your file in JPG or PNG format.
Pixlr uses smart scaling to preserve sharpness and edge clarity.
2. Adobe Express Resize Tool
Adobe Express allows you to resize images for different platforms (Instagram, YouTube, Website banners, etc.) automatically.
- Website: https://www.adobe.com/express/feature/image/resize
- Features:
- Auto preset sizes for social media
- Retains clarity using Adobe’s image algorithms
- Works fast on browsers and mobile
3. Fotor
Fotor’s AI image resizer can enlarge or shrink pictures while maintaining detail.
- Website: https://www.fotor.com
- Steps:
- Upload your photo
- Choose “Resize” under edit tools
- Enable “Keep Proportions”
- Download the resized file
4. ResizePixel
If you want something simple, ResizePixel does the job perfectly.
- Website: https://www.resizepixel.com
- Pros:
- Easy drag-and-drop interface
- Keeps file quality stable
- Offers crop, compress, and format conversion too
5. Let’s Enhance (AI Tool)
Let’s Enhance uses artificial intelligence to upscale images without losing detail.
- Website: https://letsenhance.io
- Why It’s Special:
- AI adds realistic details to larger images
- Great for professional or product photos
- Preserves texture and reduces blur
Step-by-Step: How to Resize an Image Without Losing Quality
Let’s use Pixlr as an example:
- Go to Pixlr.com and select Pixlr E (the advanced editor).
- Upload your image from your computer.
- In the top menu, click Image → Image Size.
- A small box will appear — enter your new width and height.
- Tick the option “Keep Aspect Ratio” to prevent distortion.
- Click Apply, then go to File → Save and download your image.
That’s it — your image is now resized with the same clarity and balance.
Understanding Aspect Ratio and Resolution
Two important terms you should always remember:
- Aspect Ratio:
It’s the proportional relationship between width and height.
Example: A 1920×1080 image has a 16:9 aspect ratio.
→ If you resize to 1280×720, the ratio stays the same — so no stretching occurs. - Resolution (DPI or PPI):
It measures the number of pixels per inch. Higher DPI = sharper images.
For web use, 72 DPI is fine; for printing, use 300 DPI or more.
Keeping the same aspect ratio ensures your image doesn’t look distorted after resizing.
Tips to Resize Images Like a Pro
Here are some useful tips to maintain image quality when resizing:
- Always keep the original copy before editing.
- Use high-quality source images — resizing a low-quality photo won’t help.
- Maintain aspect ratio to prevent stretching.
- Prefer PNG or WebP format for quality preservation.
- Avoid repeated resizing — every time you resize and save again, small quality loss can happen.
- Use AI upscaling tools if you need to enlarge small photos.
- Preview your image after resizing to check sharpness.
Resize for Web vs Print — The Difference
- Web Use:
Focus on lightweight files (smaller size but good visual clarity). Ideal for websites and blogs.
Example: 1200×800 px, 72 DPI. - Print Use:
Focus on high detail (larger file, higher DPI).
Example: 3000×2000 px, 300 DPI.
Choose your settings based on where you’ll use the image.
AI-Based Resizing (Next-Gen Technology)
AI image upscalers like Let’s Enhance, VanceAI, and Topaz Gigapixel AI use machine learning to add realistic details when enlarging images.
These tools analyze patterns, colors, and textures to fill missing pixels naturally — something old resizing software could never do.
If you often deal with low-quality or small images, AI-based resizing can make a huge difference.
Common Mistakes to Avoid
- ❌ Don’t resize screenshots or already-compressed photos — they lose detail fast.
- ❌ Don’t change width and height independently — it distorts the subject.
- ❌ Don’t use “stretch to fit” options blindly — always check preview.
- ❌ Don’t save multiple times in JPG — it lowers quality slightly each time.
Final Thoughts
Resizing images doesn’t have to mean losing quality anymore.
With the right tools and a bit of attention, you can resize photos smoothly and professionally — perfect for web uploads, social media, or printing.
Always remember these three golden rules:
- Use a high-quality original image
- Keep aspect ratio locked
- Choose the right tool or AI enhancer
Now, you can confidently resize any photo online — clear, sharp, and beautiful.


