Website speed matters — a lot. Whether you’re running a blog, online store, or portfolio, how fast your site loads can make or break the user experience. And one of the biggest factors that affects loading time is image size.
Large, unoptimized images can slow your site, increase bounce rates, and even hurt your SEO rankings. The good news? With the right optimization techniques, you can make your site faster without losing image quality.
This guide will explain why image optimization is important, how to do it properly, and which tools can help you keep your visuals light and fast.
Why Image Optimization Is Important
Here’s why optimizing your images should be a top priority for every website owner:
- Faster Loading Time
- Smaller images load quicker, making your pages feel more responsive.
- Better SEO Rankings
- Google favors fast websites in search results. Optimized images improve your Core Web Vitals score.
- Improved User Experience
- Visitors don’t like waiting. Faster websites keep them engaged longer.
- Reduced Bandwidth Usage
- Compressed images use less data, which helps mobile users and saves hosting resources.
- Higher Conversion Rates
- Faster pages = more sales, clicks, and sign-ups. Studies show a 1-second delay can reduce conversions by up to 20%.
Step 1: Choose the Right File Format
Each image format serves a specific purpose. Choosing the right one can drastically improve your speed.
| Format | Best For | Compression | Transparency | Notes |
|---|---|---|---|---|
| JPG | Photos, banners | Lossy | No | Great balance of size and quality |
| PNG | Icons, logos, transparent backgrounds | Lossless | Yes | Use sparingly; larger file size |
| WebP | All images | Lossy/Lossless | Yes | Best modern format (up to 30% smaller) |
| SVG | Logos, icons, vector shapes | N/A | Yes | Scalable without quality loss |
| AVIF | Photos (next-gen) | Lossy/Lossless | Yes | Even smaller than WebP, but limited support |
💡 Tip:
For most websites, WebP is the best choice — it gives smaller sizes with excellent quality and browser support.
Step 2: Resize Images to Fit Display
A common mistake many site owners make is uploading large images straight from the camera or design tool.
For example:
- You upload a 4000×3000 pixel image, but your website only shows it at 1200×900 pixels.
That’s wasted space and bandwidth.
✅ Fix:
Always resize your images to the exact display size before uploading.
Use free tools like:
Or use desktop tools like Photoshop → Image > Image Size.
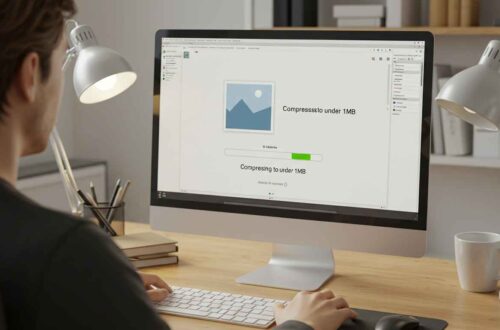
Step 3: Compress Images Without Losing Quality
Compression reduces file size while keeping visual quality.
There are two types:
- Lossless Compression:
- Keeps all data intact. Best for logos and illustrations.
- Lossy Compression:
- Slight quality reduction (barely noticeable) but drastically smaller size. Best for photos.
🔧 Recommended Online Tools
- TinyPNG → https://tinypng.com
- CompressJPEG → https://compressjpeg.com
- iLoveIMG → https://www.iloveimg.com/compress-image
- Squoosh (by Google) → https://squoosh.app
You simply upload your image, and the tool does the magic.
💡 Tip:
Aim for file sizes under 200 KB for normal images, and under 100 KB for thumbnails or icons.
Step 4: Use Lazy Loading
Lazy loading means your images load only when the user scrolls to them — not all at once.
This saves bandwidth and boosts page load speed.
Most modern browsers support it natively.
You can enable it by adding this attribute to your image tag:
<img src="image.jpg" alt="Example" loading="lazy">
If you’re using WordPress, plugins like WP Rocket or Smush can enable lazy loading automatically.
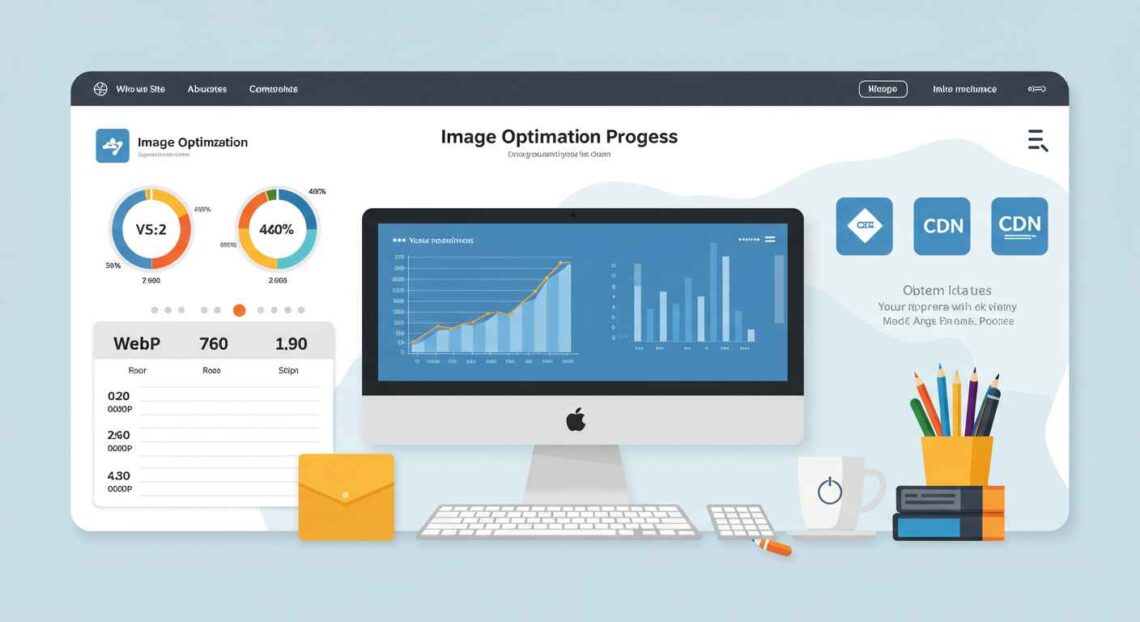
Step 5: Use Image CDNs (Content Delivery Networks)
A CDN stores your images on multiple servers around the world.
When a visitor opens your site, the images load from the nearest server, reducing latency.
Best image CDNs include:
- Cloudflare Images
- ImageKit.io
- Optimole
- ShortPixel Adaptive Images
- Jetpack Site Accelerator (WordPress)
💡 Tip:
A CDN not only speeds up images but also serves them in next-gen formats (like WebP) automatically.
Step 6: Name and Tag Images Properly
Image optimization isn’t just about speed — it also affects SEO.
Here’s how to make your images SEO-friendly:
- Descriptive File Names
- Bad:
IMG001.jpg - Good:
sunset-over-mountains.jpg
- Bad:
- Add ALT Text
- ALT text helps search engines and screen readers understand the image.
- Example:
<img src="sunset.jpg" alt="Beautiful sunset over mountain landscape">
- Use Captions (if needed)
- Adds context for users and improves readability.
- Avoid Keyword Stuffing
- Keep it natural and relevant.
Step 7: Automate Optimization (WordPress Users)
If your site runs on WordPress, you can save a ton of time with plugins that automatically optimize images as you upload them.
Here are some popular options:
- 🧩 Smush – Compresses, resizes, and lazy loads images automatically.
- ⚡ ShortPixel – Converts images to WebP and optimizes in bulk.
- 🪶 Imagify – Offers smart compression with minimal quality loss.
- 🔄 EWWW Image Optimizer – Works with your own server or CDN.
Set it once, and your images will stay optimized forever.
Step 8: Test Your Website Speed
After optimizing your images, test your site to see improvements.
Use tools like:
- Google PageSpeed Insights → https://pagespeed.web.dev
- GTmetrix → https://gtmetrix.com
- Pingdom Tools → https://tools.pingdom.com
Look for the “Serve images in next-gen formats” and “Efficiently encode images” sections — if they’re green, your site is optimized!
Bonus Tip: Convert to WebP Automatically
If you’re not already using WebP, you’re missing out on major performance gains.
It’s about 25–35% smaller than JPG or PNG with the same quality.
You can convert images easily using:
- Squoosh.app
- CloudConvert.com
- WordPress plugins (ShortPixel or EWWW Optimizer)
Final Thoughts
Optimizing your images is one of the simplest yet most powerful ways to improve your website speed.
Here’s the quick recap:
- Choose the right format (prefer WebP or JPG).
- Resize before uploading.
- Compress with online tools.
- Enable lazy loading.
- Use an image CDN.
- Add proper alt tags for SEO.
Fast websites attract more visitors, rank higher, and provide a smoother browsing experience.
Remember: a single unoptimized image can slow your entire page — so make image optimization a habit.