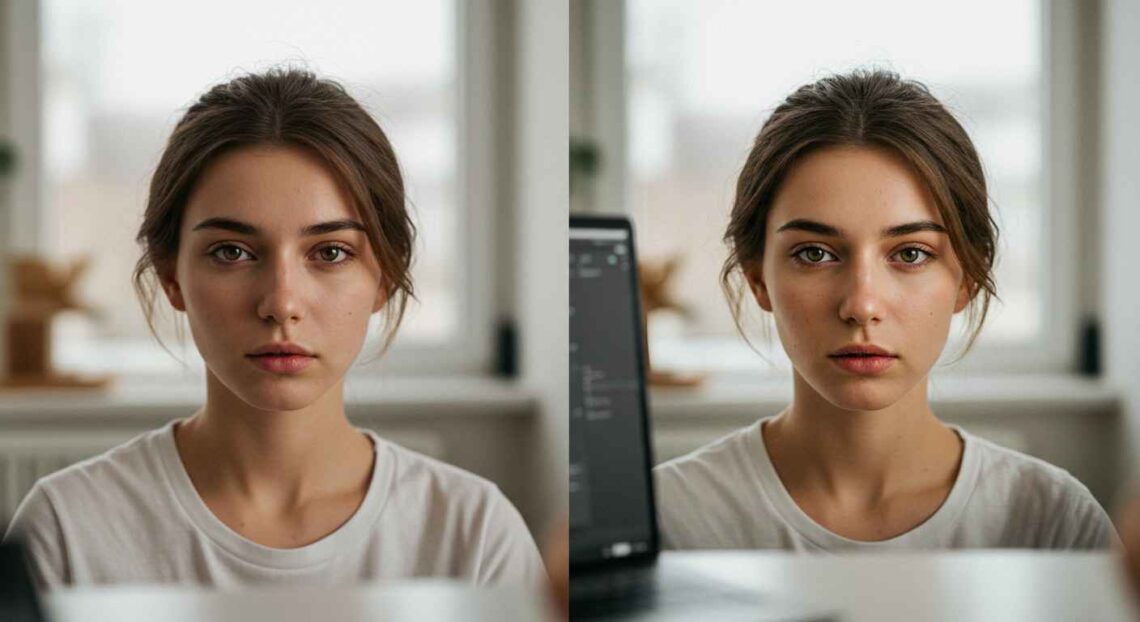
Blurring the background of an image can help your subject stand out, make portraits look more professional, or hide unwanted clutter. Thanks to many free online tools, you don’t need expensive software or advanced skills — you can blur backgrounds quickly and well. In this article, I’ll cover top free tools, how to use them, tips to get better results, common mistakes, and more.
Why Blur Image Backgrounds?
Before listing tools, it’s good to know why this effect is so useful:
- Focus: It draws attention to the subject (person, product, object) by making the background less distracting.
- Aesthetics: Gives a more polished, “portrait mode” or “depth-of-field” look.
- Clutter removal: If background has busy stuff, blur smooths it out.
- Privacy: You can blur confidential or unwanted parts without removing them completely.
What to Look for in Good Free Blur Tools
When you try out tools, check these things:
- Automatic subject detection vs manual selection.
- Able to adjust blur level / intensity.
- Good output resolution.
- No watermarks or minimal/no cost for basic use.
- Ease of use (simple interface).
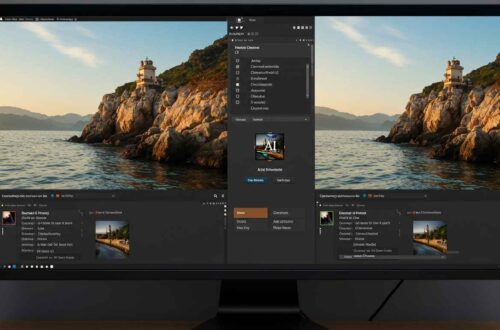
Top Free Tools to Blur Backgrounds
Here are some of the best free tools to blur image backgrounds, with their pros, limits, and how to use them.
1. Canva
What it does: Canva’s “Auto Focus” / “Blur background” feature allows you to upload an image and blur its background automatically or partially. Canva
Pros:
- Very easy to use
- Good quality blur effect
- Includes templates/design tools around the image too
Limitations: - Sometimes blur options are limited in the free plan
- Might need manual tweaking if subject detection isn’t perfect
2. Photoroom
What it does: AI-based background blur; you upload the image, the tool detects background vs subject, then lets you adjust blur strength. Photoroom
Pros:
- Fast results
- Good for product photos, portraits
- Clean output
Limitations: - Free version might have fewer adjustment options
- Some features locked behind paywalls
3. Fotor
What it does: Offers full control over blur effects; you can blur full background or only certain parts. Has brushes/selectors. Fotor+1
Pros:
- Many blur styles (motion blur, radial, etc.)
- Good control over what part to blur
- Free and with mobile version also
Limitations: - Blur transitions sometimes look less smooth depending on the photo
- Free plan sometimes limits resolution or speed
4. AIPhotor
What it does: Simple AI-based tool to blur background, user can adjust intensity. aiphotor.com
Pros:
- Very easy, fast upload & blur
- Adjustable intensity
Limitations: - Edge detection not always perfect
- Might not offer many advanced options
5. PicWish
What it does: Lets you blur image backgrounds automatically with one click and adjust blur strength. PicWish Photo Editor
Pros:
- Clean and simple interface
- Good for quick edits
- Free, works well for casual use
Limitations: - Might lack advanced tools or multilayer editing
6. Pixelcut
What it does: AI-based blur background tool; upload image, it identifies the background, allows blur strength adjustment. Pixelcut
Pros:
- Smooth finish
- Useful for product / e-commerce photos
- Allows adjustments, gives good result fast
Limitations: - If image is complex (hair edges, overlapping objects), detection may need manual cleanup
7. AI Background Blur Tool (No Signup) – BlurBG.com
What it does: Free tool with no signup or watermark; just upload, blur background, adjust, download. blurbg.com
Pros:
- Very simple usage
- No need to create account
- Good privacy (some process on browser/local)
Limitations: - Fewer additional editing features
- May not support huge image sizes
How to Use These Tools Effectively — Step by Step
Here’s a general process you can follow:
- Choose a high-quality source image: clear, well-lit, subject distinct from background.
- Upload to chosen tool.
- Automatic detection / subject selection: let tool identify subject & background. If automatic fails, use manual brush or selector.
- Adjust blur intensity to a value where the background fades but looks natural. Don’t over-blur (it looks strange) or under-blur (might not remove distractions enough).
- Preview the image zoomed in & out — sometimes edges (hair, fur) show artifacts.
- Export using high resolution format (PNG or high-quality JPG).
Common Mistakes to Avoid
- Over-blurring: Too much blur makes image unrealistic.
- Blurring parts of subject by mistake.
- Low resolution images: after blur, edges look jagged or messy.
- Using blur on already noisy/blurry background — noise gets amplified.
- Ignoring privacy: some tools upload images to servers; check if images are stored or processed locally.
Final Thoughts
Blurring image backgrounds is now easy, affordable, and fast. Whether for social media, product photos, or creative designs, these free tools make it possible for anyone to get professional-like effects without fancy equipment. Try some tools above, experiment with blur intensity, and pick a style that fits your brand or project.