Images are one of the biggest reasons websites and devices run slowly. Whether you’re uploading photos to your website, sharing them on social media, or attaching them to emails — large image sizes can be a real problem.
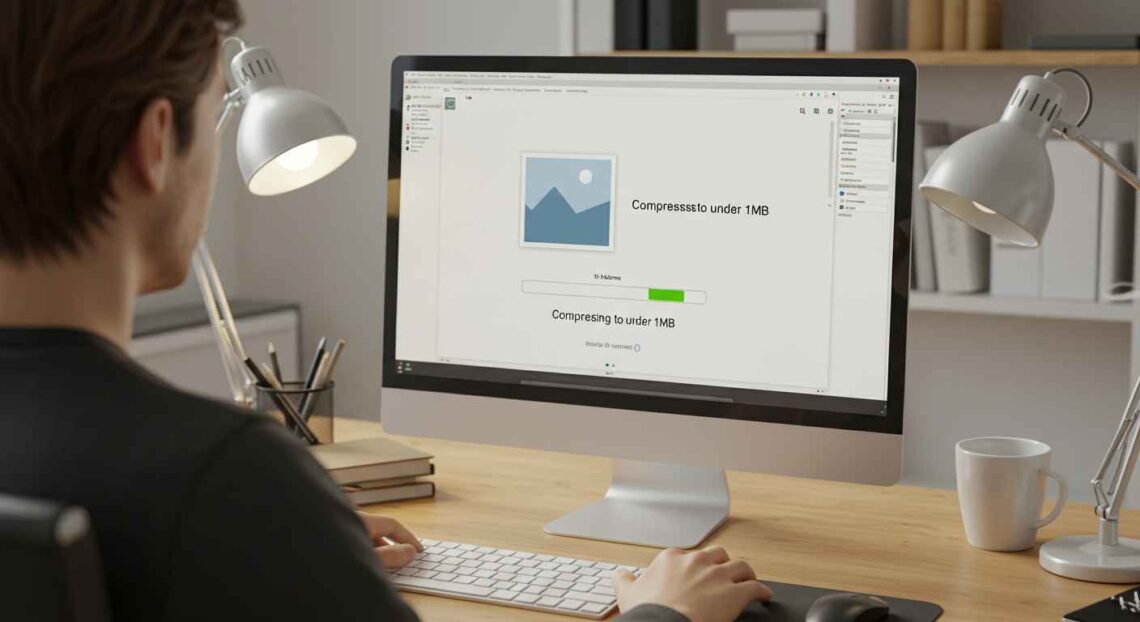
That’s why compressing images under 1MB is an essential skill for anyone working online. The good news? You don’t need expensive software to do it. Today, there are plenty of free and easy ways to compress large images while keeping the same visual quality.
In this guide, we’ll explain what image compression means, why it’s important, and how you can reduce image size under 1MB using the best free online tools.
What Does “Compressing an Image” Mean?
Image compression means reducing the file size of a photo without changing its actual dimensions or quality too much.
When you compress an image, unnecessary data — like extra color information or invisible details — is removed. This makes the file smaller and easier to load or share.
There are two main types of compression:
- Lossless Compression: Reduces size slightly but keeps every detail intact (used for PNGs).
- Lossy Compression: Makes the file much smaller but may slightly reduce quality (used for JPGs or WebP).
For most online uses, lossy compression works perfectly fine and gives the best balance between quality and speed.
Why Compress Images?
Here’s why optimizing image size is so important:
- Faster Website Loading:
Smaller images load faster, which improves user experience and SEO ranking. - Saves Storage Space:
You can store more photos without running out of space. - Easier Sharing:
Compressed images upload faster to websites, emails, and social media. - Better Mobile Experience:
Mobile users have limited bandwidth; smaller images use less data. - AdSense & SEO Benefits:
Google prefers fast-loading pages, so optimized images help you rank better.
Ideal Image Size for Web and Social Media
If you’re planning to upload images online, here’s a simple rule:
| Platform | Ideal Image Size |
|---|---|
| Website or Blog | Under 1MB per image |
| Instagram / Facebook | 300KB – 800KB |
| Email Attachments | 100KB – 500KB |
| Thumbnails / Previews | 100KB – 300KB |
So, keeping your images below 1MB ensures quality plus performance.
Best Free Tools to Compress Large Images Online
Let’s explore the most trusted and easy-to-use online tools that can reduce your image size under 1MB — without making it blurry or pixelated.
1. TinyPNG
🔗 Website: https://tinypng.com
Why use it:
- One of the most popular tools for image compression.
- Works for PNG and JPG formats.
- Uses smart lossy compression that maintains image quality.
Steps:
- Open TinyPNG.com
- Drag and drop your image (max 20 files at once)
- It automatically compresses
- Download the optimized file — usually 60–80% smaller!
2. CompressJPEG
🔗 Website: https://compressjpeg.com
Features:
- Supports multiple file formats (JPEG, PNG, PDF).
- Allows you to preview the result before downloading.
- Great for photographers and designers.
Steps:
- Upload your photo
- Wait for automatic compression
- Compare before and after
- Download compressed file
3. ILoveIMG
🔗 Website: https://www.iloveimg.com/compress-image
Why it’s great:
- Works for large files up to 200MB
- Batch compression (many photos at once)
- Option to resize or convert at the same time
This tool is perfect for bloggers, students, or businesses managing lots of product images.
Squoosh (by Google)
🔗 Website: https://squoosh.app
Best for: Users who want control over quality and format.
It lets you manually adjust compression levels and instantly compare before vs after.
Steps:
- Open the site
- Upload your image
- Adjust the “Quality” slider until size drops under 1MB
- Download your optimized version
You can even convert to WebP, which is much smaller than JPG or PNG.
Kraken.io
🔗 Website: https://kraken.io/web-interface
Highlights:
- Uses advanced algorithms
- Allows URL-based image compression
- Ideal for website owners who need bulk optimization
Step-by-Step: Compress an Image Under 1MB Using TinyPNG
Let’s go through a simple example:
- Go to TinyPNG.com
Works directly in your browser. - Upload your image file (JPG or PNG).
You can drag and drop multiple images. - Wait for the tool to process.
It usually takes 3–5 seconds depending on file size. - Check the new size.
You’ll see how many kilobytes were reduced. - Download the compressed image.
The image will now look the same — just lighter and faster!
For example, a 5MB image can easily become 700KB without visible quality loss.
Bonus Tip: Use WebP Format
If you want even smaller files, convert your images to WebP format.
WebP is Google’s modern image format that provides up to 80% smaller size with high quality.
You can use:
- Convertio.co
- CloudConvert.com
to convert JPG or PNG to WebP instantly.
Almost all browsers now support WebP, making it perfect for websites.
How to Check Image Size Before Uploading
Before uploading to your website or email, always check the image size:
- Windows: Right-click → Properties → Details
- Mac: Right-click → Get Info
- Mobile: Check file info from your gallery
- Online: Use any file size checker tool
If it’s above 1MB, compress it first.
Common Mistakes to Avoid
- Don’t over-compress — it can make your photo blurry.
- Avoid multiple compressions — always use the original image.
- Save in the right format:
- Use JPG for photos
- Use PNG for logos or transparent backgrounds
- Use WebP for web performance
- Always keep a backup of your original image.
Final Thoughts
Large images can slow down websites, increase load time, and waste storage space. Thankfully, compressing them is quick and easy.
Tools like TinyPNG, Squoosh, and ILoveIMG make it simple to bring any image under 1MB without losing noticeable quality.
Whether you’re managing a blog, eCommerce store, or digital portfolio — using optimized images is the smartest move you can make for better performance and SEO.
So before you upload your next photo, take a few seconds to compress it — your site speed (and visitors) will thank you!