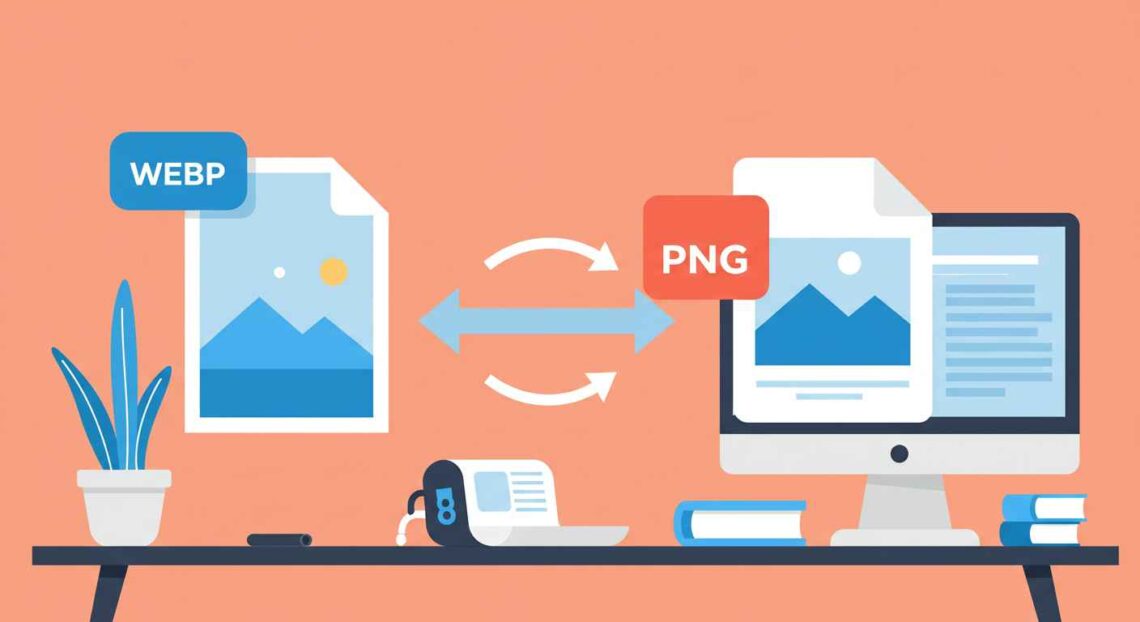
If you’ve ever tried converting a WebP image to PNG and ended up with a white or black background instead of transparency — you’re not alone.
WebP is a modern image format known for its small file size and high quality. But sometimes you need to convert it to PNG — especially if you’re editing, using older software, or uploading to a site that doesn’t support WebP yet.
The key is: doing it without losing transparency. In this guide, you’ll learn what causes transparency loss, the best online tools to prevent it, and step-by-step methods for perfect WebP-to-PNG conversion.
What Is WebP Format?
WebP is a modern image format developed by Google that provides superior compression for both lossy and lossless images.
It supports features like:
- 🔍 Transparency (like PNG)
- 🎞️ Animation (like GIF)
- ⚙️ Smaller file sizes (compared to JPG and PNG)
- 🌐 Excellent quality at reduced size
This is why most modern websites — including WordPress and eCommerce platforms — prefer WebP.
However, not all editing software or older systems support it fully, which leads to the need for conversion to PNG.
Why Convert WebP to PNG?
Here’s when you might need to switch from WebP to PNG:
- Editing Needs – Some older tools like Paint or GIMP may not support WebP properly.
- App or Website Compatibility – Certain platforms only allow JPG or PNG uploads.
- Preserving Transparency – PNG supports transparent backgrounds (essential for logos and graphics).
- Design Workflows – Graphic designers often use PNG files in layered designs.
But the biggest challenge is keeping transparency intact during conversion.
Common Problem: Losing Transparency
Many converters or image editors flatten WebP images onto a white or black background during conversion.
This happens because:
- The tool doesn’t fully support alpha transparency.
- It exports using lossy settings.
- The software compresses the image as a solid background layer.
✅ The good news: using the right tool or method can preserve transparency perfectly.
Best Tools to Convert WebP to PNG (With Transparency)
Here are some of the most reliable online converters that retain transparency:
1. CloudConvert
🌐 https://cloudconvert.com/webp-to-png
✅ Features:
- Keeps full transparency.
- Adjustable quality and resolution.
- Supports batch conversions.
💡 How to use:
- Upload your WebP file.
- Choose “PNG” as the output format.
- Click Convert.
- Download your transparent PNG file.
2. Convertio
🌐 https://convertio.co/webp-png/
✅ Features:
- Fast, online, and privacy-friendly.
- Handles transparency automatically.
- Works from Google Drive or Dropbox.
💡 How to use:
- Visit Convertio.
- Upload WebP image(s).
- Select PNG as output.
- Click Convert → Download.
3. EzGIF
🌐 https://ezgif.com/webp-to-png
✅ Features:
- Free, no watermark.
- Preserves transparency.
- Allows basic edits before saving.
💡 Steps:
- Go to the EzGIF link.
- Upload your WebP image.
- Click Upload and Convert.
- Preview → Save → Download PNG.
4. iLoveIMG
🌐 https://www.iloveimg.com/webp-to-image
✅ Features:
- Simple drag-and-drop interface.
- Works in browser, no sign-up required.
- Keeps transparent backgrounds intact.
5. Squoosh (by Google)
🌐 https://squoosh.app
✅ Features:
- Open-source, privacy-safe.
- Advanced settings for quality and color.
- Keeps transparency perfectly when exporting to PNG.
💡 Steps:
- Open Squoosh.
- Drag and drop your WebP image.
- Choose PNG as output format.
- Download the transparent PNG version.
Step-by-Step: Convert WebP to PNG Without Losing Transparency
Let’s go through the process using CloudConvert (recommended for beginners).
- Visit https://cloudconvert.com/webp-to-png.
- Click Select File and upload your WebP image.
- Choose PNG as the output format.
- Ensure Transparency is enabled (default).
- Click Convert.
- Download your PNG — with full transparency preserved.
That’s it! Your image is now ready for use anywhere, without the white background issue.
Offline Tools (Optional)
If you prefer offline tools or work with multiple files:
🖥️ Using GIMP (Free Software)
- Open your WebP file in GIMP.
- Go to File → Export As.
- Select PNG Image.
- In Export settings, check Save color values from transparent pixels.
- Click Export.
💻 Using Photoshop
- Open WebP file (latest versions support it natively).
- Go to File → Export → Export As → PNG.
- Ensure Transparency is checked.
- Save the file.
Both methods guarantee your PNG remains clean and transparent.
Bonus Tip: Batch Conversion
Need to convert many files at once?
Try:
- XnConvert (Windows/Mac/Linux)
- ImageMagick (for advanced users)
- CloudConvert Batch Mode
These let you convert dozens of WebP files into transparent PNGs with a single click.
Troubleshooting Transparency Issues
If you notice white or black backgrounds after conversion:
- Double-check that your source image actually has transparency.
- Use tools that explicitly mention alpha channel support.
- Avoid basic “screenshot-to-PNG” methods — they flatten images.
- Don’t use Paint or Preview (Mac) — they often drop transparency.
Frequently Asked Questions
Q: Why does transparency disappear after conversion?
👉 Because some converters flatten the background instead of saving the alpha channel.
Q: Which is better — WebP or PNG?
👉 WebP is smaller and faster; PNG is more compatible and widely supported. Use PNG when transparency or editing flexibility matters.
Q: Can I convert multiple WebP files at once?
👉 Yes! Tools like CloudConvert and XnConvert allow batch conversion.
Q: Does converting WebP to PNG reduce image quality?
👉 No — PNG is lossless, so your converted image remains sharp and clear.
Final Thoughts
Converting WebP to PNG without losing transparency doesn’t have to be tricky.
The key is choosing the right converter — one that supports alpha transparency and lossless export.
For best results:
- Use CloudConvert or Squoosh for web-based conversions.
- Try GIMP or Photoshop for offline editing.
This way, you’ll keep your transparent logos, icons, and graphics clean, crisp, and ready for any design project.